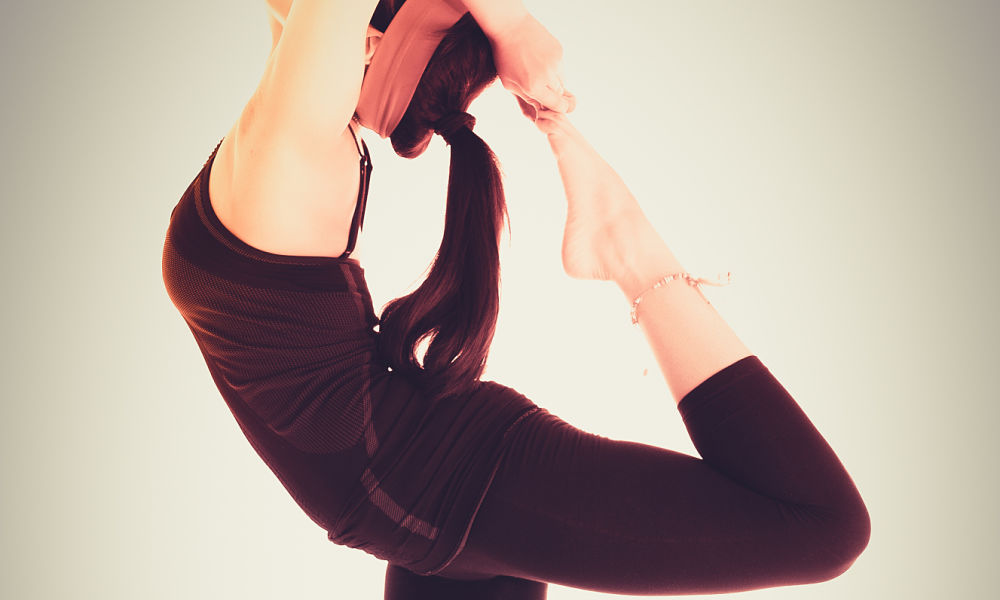
Are you interested in conquering the pigeon pose? If you are a fellow yogi or enjoy practicing yoga, you should know the basics of the pigeon pose. The pigeon pose is also known by its Sanskrit name, Eka Pada Rajakapotasana. When the pose is done correctly, your hips begin to open up and you will feel a nice, deep stretch.
There are several variations of the pigeon pose, including the sleeping pigeon pose, modified versions of the pigeon pose, and grabbing your foot from behind while staying in the pigeon pose. In order to conquer all variations of pigeon pose, you must first start with and complete a simple one-legged king pigeon pose. For the purpose of this article, the sleeping pigeon pose and the one-legged king pigeon pose will be discussed. The following steps and tips are intended to help guide you along your journey towards conquering the pigeon pose.
Step 1: Hands and Feet
With your hands and feet placed on the floor, get into either the downward dog position or the tabletop pose. As soon as you are comfortable, begin to shift your weight so that you can bring your right or left knee forward. It is generally much easier to transition from the downward facing dog position into the pigeon pose, but if you are more comfortable with the tabletop pose, follow what is best for you. Your left or right knee should be comfortably placed in front of you in between your hands that are still touching the floor.
Tip: Make sure to bring your thigh all the way down onto the mat. You do not want to put too much weight on the bent leg. If you find it difficult to adjust yourself or cannot seem to bring your thigh to the floor, find a prop. Props are the best options in yoga because they provide support and allow you to engage and ultimately grow in every pose. So, use a prop whenever you feel discomfort or need additional support. In the pigeon pose, you can place a blanket or a block underneath your thigh of the bent leg.
Step 2: Lift Up
As you keep your front leg bent, make sure to keep your back leg straight behind you. The leg that rests behind you should be relaxed but straight. Your knee and the top of your foot should be the only things touching the ground. Once you are comfortable, begin to push up through your fingertips and lift through your torso. If you prefer to keep your torso lowered in the sleeping pigeon pose, simply adjust your arms so that they are extended forward and your forehead rests on the floor. If you decide to stay in the sleeping pigeon pose, make sure that you are not forcing all of your weight on that front leg.
Tip: Make sure to keep your hips square and even, and adjust your torso so that it faces forward. While you find the pigeon pose, make sure to also keep your front foot flexed. In order to protect your ankles, flex your foot and be conscious of whether you feel any tightness or pain. The front foot that is flexed should be placed away from the thigh, not under it.
Step 3: Hold and Release
Hold the pigeon pose for up to a minute, or longer if you prefer. Switch to the other side and follow the same steps. In order to make a smooth transition out of pigeon pose, tuck your back toes and lift your knee off of the mat. Then, make your way back to downward dog or tabletop pose and switch to the other leg.
Tip: As you follow each step and hold in the pigeon pose for a minute, keep your focus downward. Try not to tighten up or feel tense. If you find that your shoulders and neck are beginning to feel tense, try the sleeping pigeon pose. While you are in the sleeping pigeon pose, you can use props like blankets and pillows to rest your head on, which will relax the muscles in your neck. Also, remember to breathe. It is important to take deep breaths in and out as you continue your yoga practice, especially during poses like the pigeon pose.
Conquer the Pigeon Pose
Use the steps listed above to help you conquer the pigeon pose. In order to achieve more advanced pigeon poses, you need to start with the simple one-legged king pigeon pose where your back leg is straight and your front leg is bent, as explained earlier. Good luck and namaste.

