Are you interested in yoga? Do you want to learn how to conquer the crow pose? Here are some simple steps and tips for accomplishing the crow pose.
Also known as the crane pose, crow pose tends to be the first arm balance pose introduced to yoga students. Because the crow pose is a foundational pose for other arm balances, it is important to first learn the basics in order to accomplish other and more difficult poses.
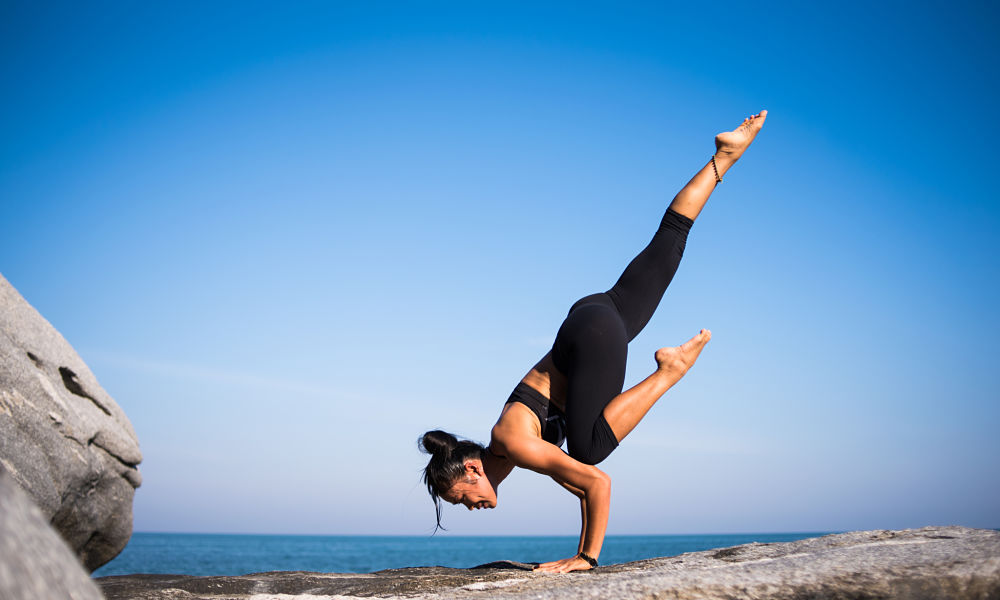
The Sanskrit name for the crow (crane) pose is Bakasana. The pose requires strength and balance, and it is known for strengthening the upper arms, forearms, wrists, and your core. If you are interested in conquering the crow pose, look at the following tips and steps.
Step 1: Low Squat
First, you are going to need to start in mountain pose at the front of your yoga mat. Then, place your feet about as wide as your mat with your arms relaxed at your sides. When you are ready and have found balance, bend your knees and lower yourself into a low squat.
Coming into a low squat, make sure your thighs are spread wide and your feet are close together at about hips-width apart. Your heels should stay on the floor, but if they lift, you will need to support them with a prop like a blanket. Unless you can keep balance in the low squat, it is recommended that you use a prop to assist you. Props are always a great option in your yoga practice because they help with balance and keep you stabilized. For more balance, keep your elbows on the inside of your knees.
Step 2: Palms to the Mat
After placing your elbows on the inside of your knees, keep your palms facing away from you. With your hands up and facing forward, push your elbows out. If you are struggling with balance, start with step one and begin again. It is always best to move through the motions slowly and steadily. In order to maintain balance, you should not rush from one step to the next. It is important to stay focused and relaxed as you continue through the steps.
As soon as you feel balanced and ready, begin to lean forward and place your hands on the floor. Keep your hands about shoulder-width apart and keep your fingers evenly spread. As you place your palms to the mat, keep the pressure spread evenly across your fingers and palms. Make sure to keep your head lifted and your hands slightly in front of you.
Step 3: Lift Your Hips
Pushing your hands into the ground, slowly lift your hips and lean forward. Keep the balls of your feet on the ground. Make sure to bend your elbows and trust yourself. Although your hips are lifted, keep your back rounded and your tailbone tucked in towards your heels. This is all about strength and balance; if something does not feel right, start over and remember to breathe.
Your focus should stay lowered between your hands or if you prefer, look a bit forward just above the hands.
Step 4: Lift Your Feet
Now it is time to lift your feet. But first, you need to take one foot at a time. Slowly lift your left or right foot. You should still be leaning forward and engaging your arms and core. Keep breathing and make sure you are pressing on your hands evenly. Stay in this position for a few moments until you are comfortable to move on.
Lift your opposite foot as soon as you are ready and have found balance. When you are more experienced, you will be able to lift both feet at the same time. Additionally, as you build more strength, you will be able to straighten your arms without falling.
Hold the crow pose for at least a minute if you can. At first, it may be difficult to hold the pose for such a long period of time. If this is the case for you, take it slowly and hold the pose for as long as you can. Once you are finished, slowly lower back down by leaning back and placing your feet back on the floor.
Completing the Crow Pose
Now that you have been introduced with simple steps and tips you are capable of trying the crow pose. Remember to not get frustrated with yourself if you keep falling out of the pose. It will take time to complete the crow pose. Soon you will be ready for more challenges and yoga poses.